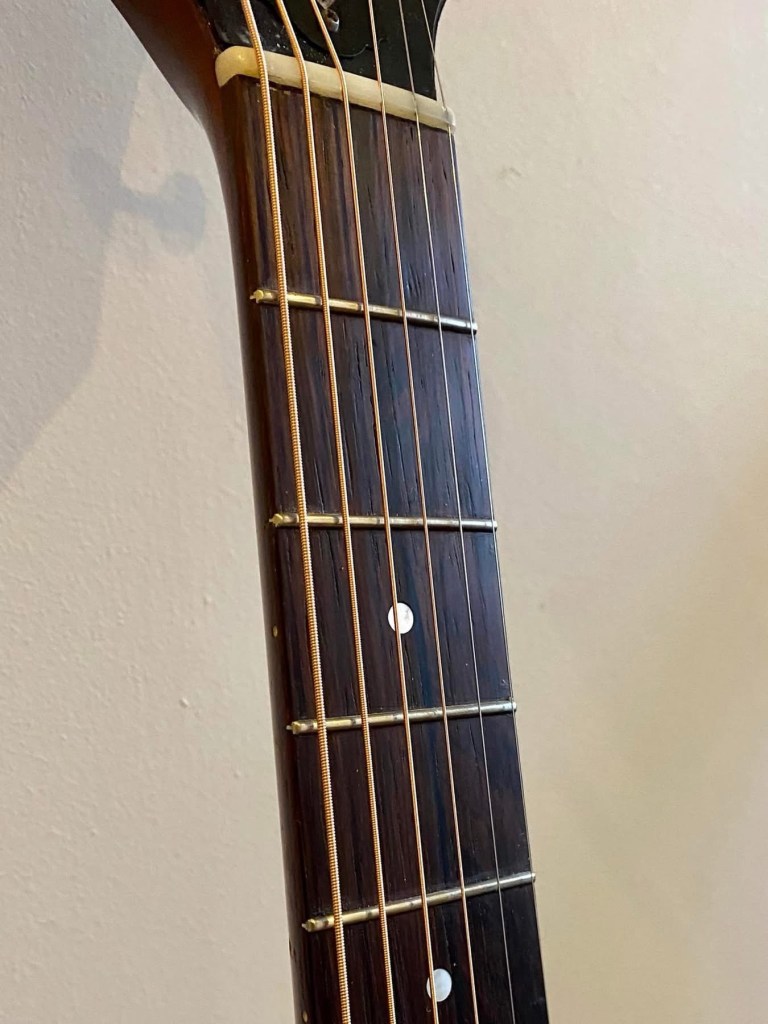
I was brought this Guild M-20 which, given it was made in Hoboken, New Jersey, dates between the model’s introduction in 1958 and the company moving to a larger factory in Westerly, Rhode Island in 1967. It was certainly showing signs of its age. Apart from the nicely worn finish, the guitar’s bridge was broken and almost detached. This wasn’t the guitar’s original bridge, but a badly fitted replacement, so a new bridge was in order. The frets, which looked to be the original ones, were worn down very low and flat, so a refret was also needed.
Because an acoustic guitar is under a constant pull of between about 130lbs and 180lbs, depending on scale length and string gauge, over time the bridge will pull up causing a bulge in the guitar’s top immediately behind the bridge, and the neck will pull forward causing the part of the fretboard that extends beyond the neck and onto the body to sink down. The effect of this is to gradually increase the distance between the strings and the frets making the guitar increasingly difficult to play. In the early stages the saddle can be lowered to compensate for this, but eventually there will be insufficient saddle protruding from the bridge to provide a decent break angle for the strings which leads to a loss in tone.
In these circumstances a neck reset is usually in order, where the neck joint is steamed loose, the neck removed, and the neck heel reshaped to slightly increase the upward tilt of the neck. This is a big and expensive job and, as the refret and fitting of the new bridge were already needed, I decided to try another approach I’d seen on YouTube by an Australian repair man called John Miner.
His method is to use clamps to secure a fret levelling beam to the fretboard, clamp the guitar to a table at the end of the body and near the headstock, introduce steam into the upper bouts of the body for thirty seconds or so, and then slowly tighten the clamp by the headstock. This will pull the neck back to where it originally was and will also pull the dip out of the body where the fretboard extension had caused it to sink. The guitar should then be left for several weeks to let it settle into position.
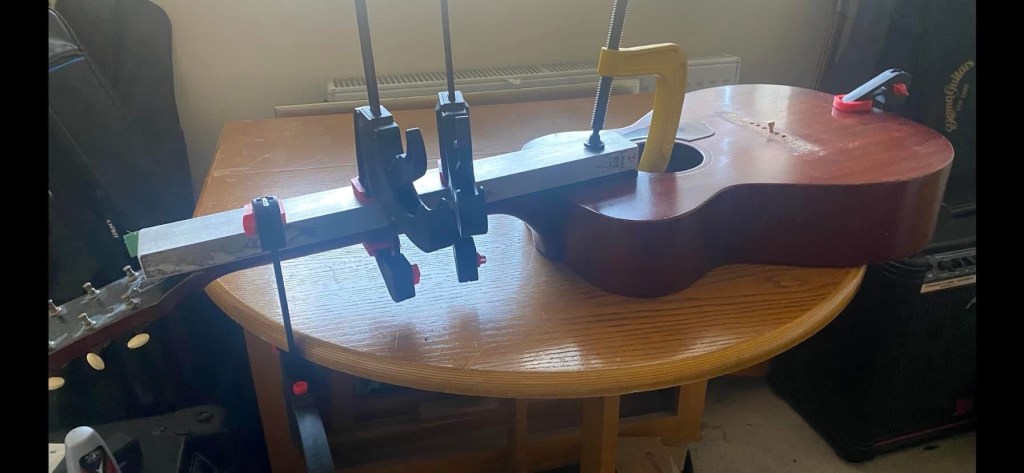
The cracked bridge came off very easily using a bevelled chisel heated against an iron. To deal with the slight bulge in the guitar’s top behind the bridge I used a device called the JLD Bridge Doctor. It attaches to the underside of the bridge and, by means of an adjustable rod which pushes against the end block, pulls the bridge and top back to the correct position. Once installed, this device is supposed to be left permanently in the guitar. I put one in my 12-string guitar when the top started to bulge excessively and, while it did what it was supposed to, it badly affected the tone of the guitar. I left it in for a couple of months but eventually took it out. To my surprise the top held in position and has done for several years. So, after modifying the device to fit this small guitar, I installed it, introduced a bit of steam into the main body of the guitar, and left it to settle.
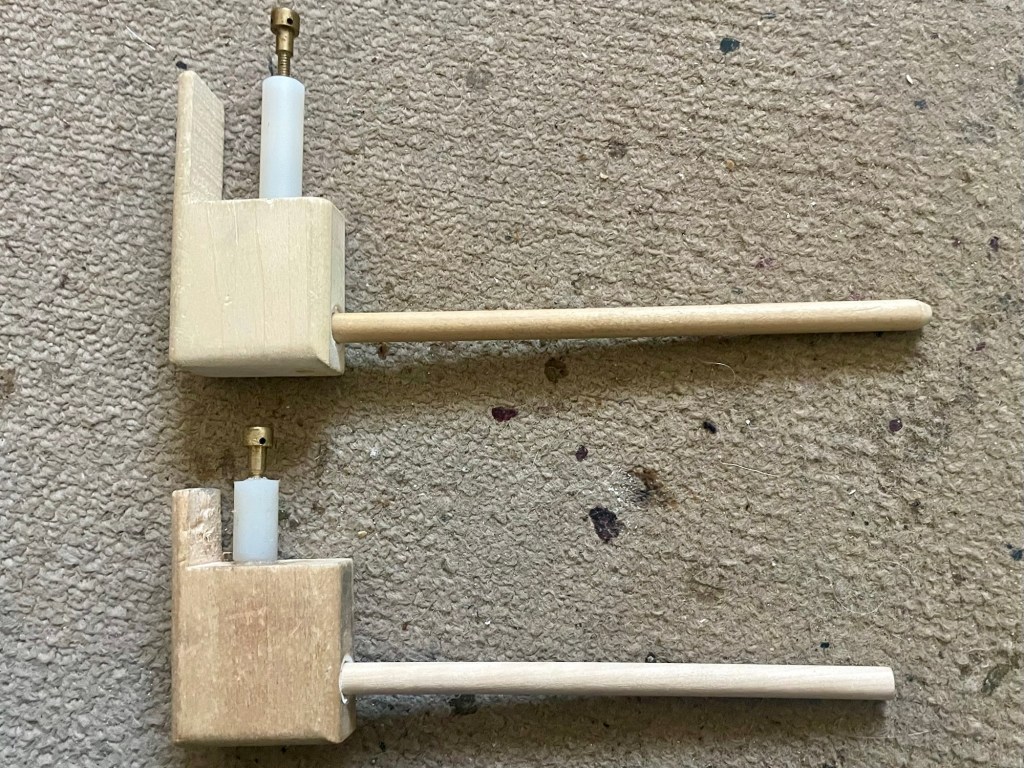
All this worked really well. When I took the clamps off and the Bridge Doctor came out there was no sign of the dip in the body, the neck angle was back to where it originally would have been, and the bulge in the top had been reduced. I then put in new frets.
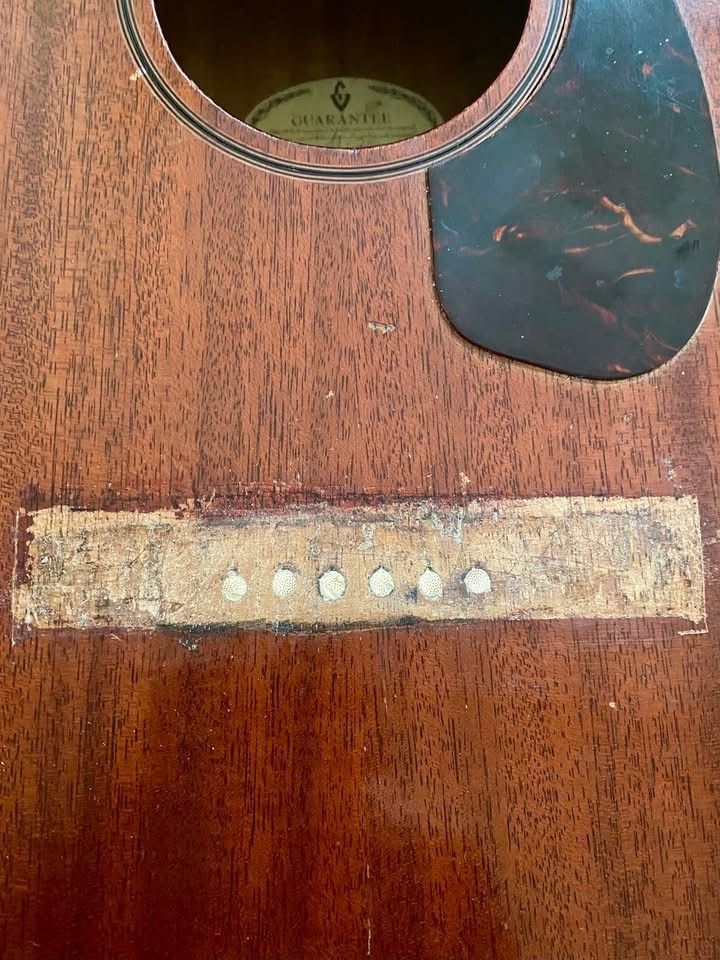
Next to deal with was the bridge. I plugged the original bridge pin holes with dowelling so I could drill new ones when the new bridge was on.
I couldn’t find the type of small, rectangular bridge that some small guitars have, so I sanded a standard acoustic guitar bridge to the correct shape. Once this was done the bridge fitted the footprint of the original bridge perfectly.
All flat top guitars have a slight contour to them, and when fitting a new bridge it must be shaped accordingly. This is done by attaching a piece of medium sandpaper to the top where the bridge sits (I use very thin double sided tape to attach it) and moving the bridge backwards and forwards along it with small movements until the bottom of the bridge corresponds to to the slight curvature of the top. This will prevent the bridge from lifting after it has been glued in place.
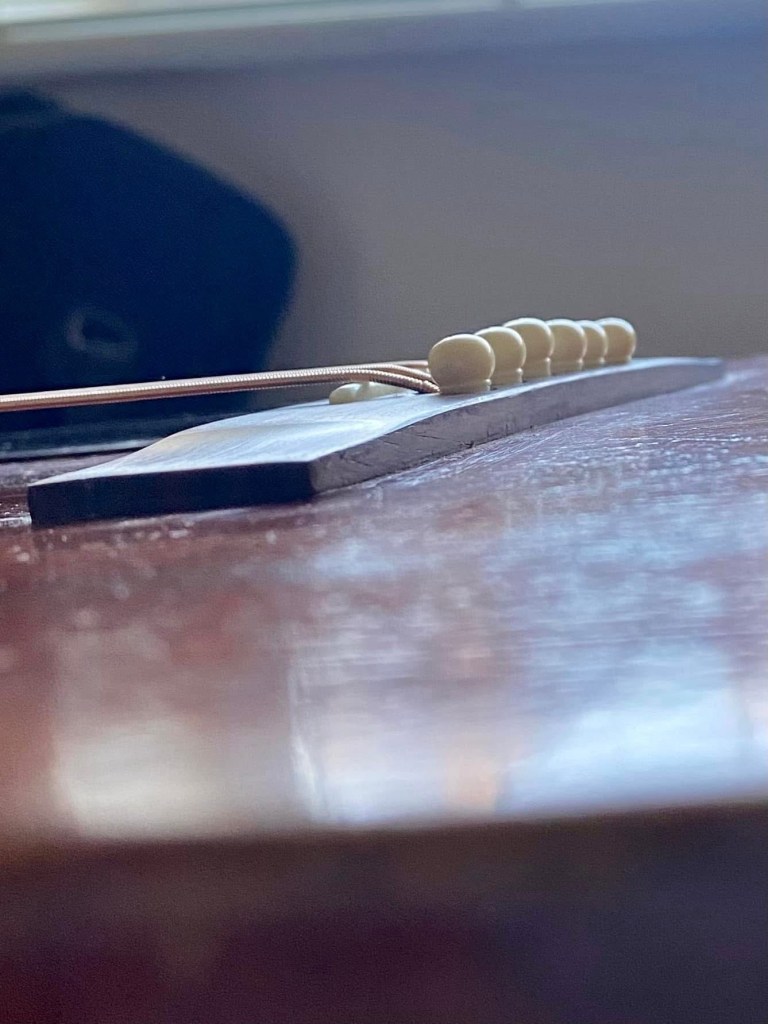
Older acoustic guitars were built with shallower neck angles and their factory specifications recommended significantly higher actions than we’re used to these days. The popularity of electric guitars, with their lower, easier playing actions, had an impact on acoustic guitar companies who changed their manufacturing specifications to allow for lower actions. Similarly, owners of vintage guitars would have their guitars’ necks reset to achieve the same results. I kept this in mind when doing the final setup on this guitar. I sanded down the top of the bridge as far as I possibly could so that just more than half of the saddle sat in the slot than protruded above it. I also cut some ramps of increasing length from low to high E to get a good break angle over the saddle.
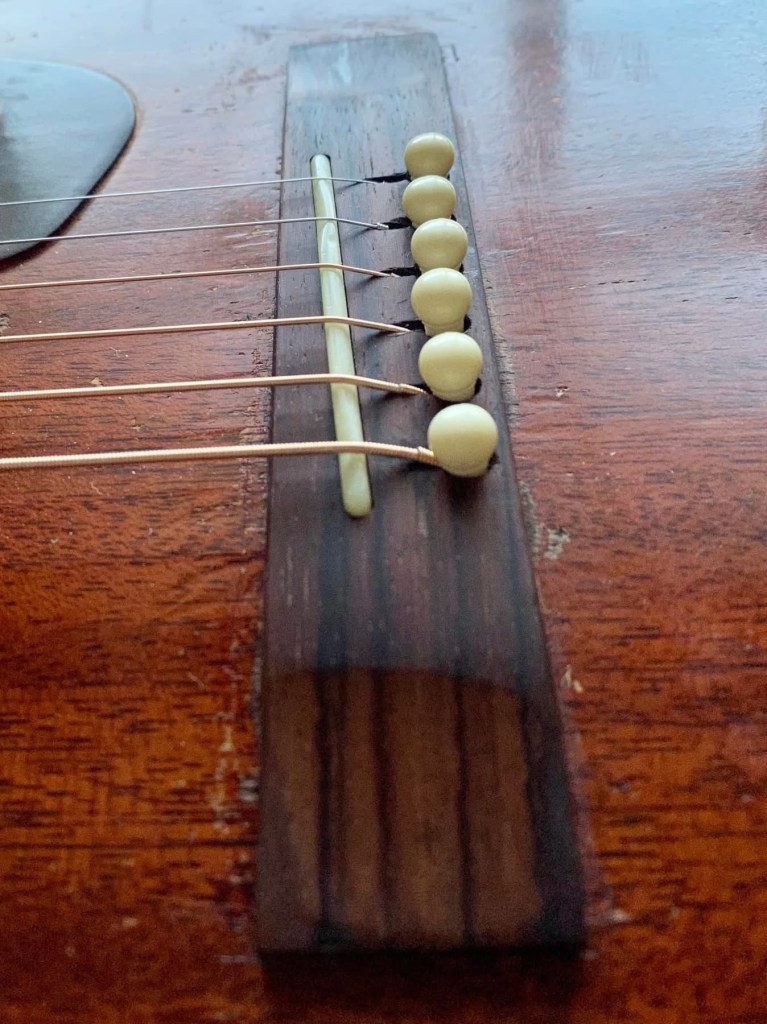
With all this done, and with a set of D’Addario XS phosphor bronze strings, gauges 11-52, the guitar ended up with an action of 2.9mm under the low E string at the 12th fret and 2.3mm for the high E string. This is about half a millimetre higher than my preferred action, but with the lighter strings and very little neck relief, the guitar plays very comfortably and cleanly and sounds really good, loud, and punchy.
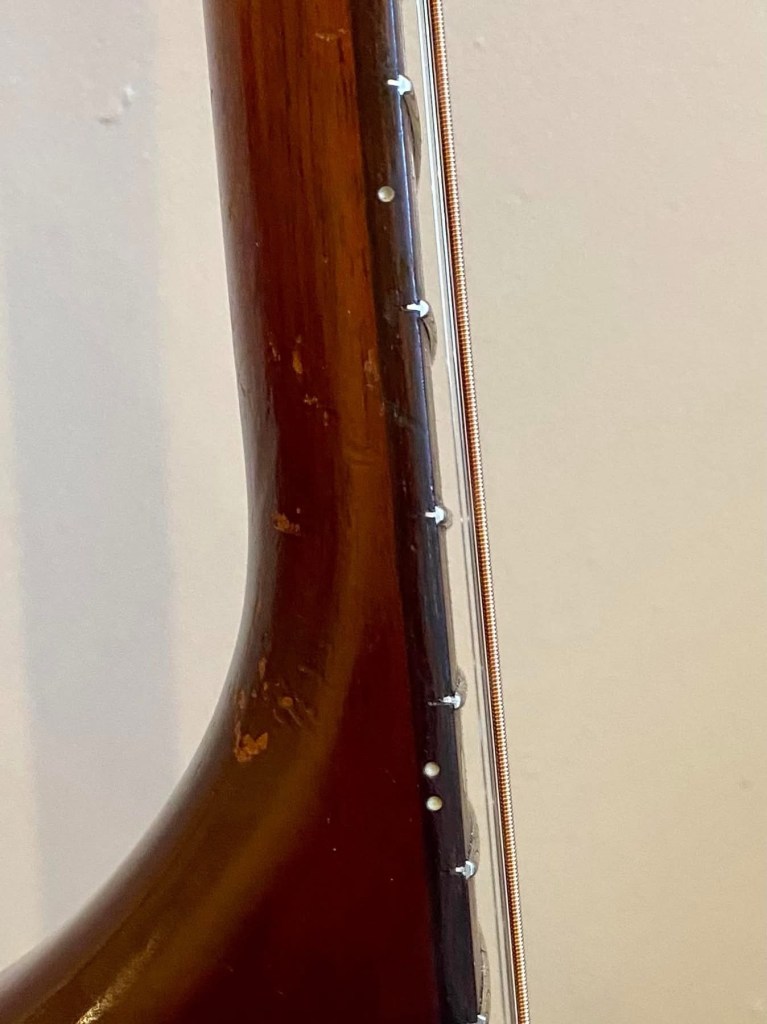
This was an interesting, absorbing, and enjoyable job, and the owner was very pleased with the results.


Leave a comment